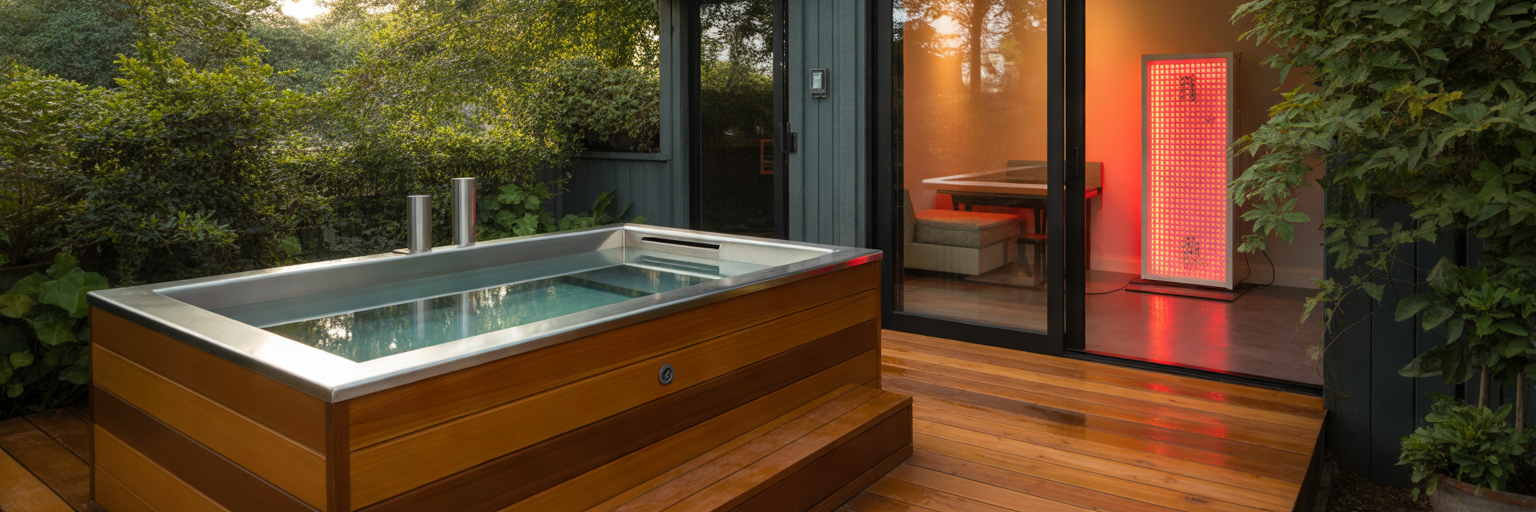
Decades of sports physiology have shown that contrasting temperatures can accelerate how quickly strained muscles clear metabolic byproducts. Learning how to layer red light therapy and cold plunge sessions applies that foundational vascular principle to modern home recovery. By pairing cold water immersion with targeted wavelengths of red and near-infrared light, you can address both systemic fatigue and cellular energy depletion in a single routine.
Why Layer Red Light Therapy and Cold Plunge for Recovery
You know the feeling the morning after a long Sunday run along the coast or an ambitious lower-body session in the gym. A dull, stubborn stiffness settles into your lower back, and your hamstrings feel heavy and unresponsive even after a warm shower and twenty minutes on a foam roller. Relying on a single recovery modality often leaves half the physiological problem unsolved because deep muscular fatigue involves both vascular congestion and cellular exhaustion.
When you lower yourself into cold water, your body treats the sudden temperature drop as an immediate systemic stressor. Smooth muscle fibres wrapped around your superficial blood vessels contract rapidly, a process known as acute peripheral vasoconstriction. This physical squeezing pushes stagnant fluid and metabolic waste products out of your fatigued limbs and back toward your core to preserve vital heat. While this vascular flush calms localized swelling and numbs sore nerve endings, it also temporarily slows metabolic activity near the skin surface.
Stepping in front of an LED light panel as your body begins to warm back up introduces a completely different biological input. Instead of relying on thermal shock, red and near-infrared wavelengths work through cellular photobiomodulation. Photons within these specific bands pass through the epidermis and are absorbed by cytochrome c oxidase inside your mitochondria, helping strained cells produce adenosine triphosphate more efficiently while encouraging fresh microcirculation.
Living tissue interacts with light wavelengths in remarkably specific ways across the natural world. Researchers have documented the mystery of animal biofluorescence, where certain mammals and amphibians absorb ambient light and re-emit it at a longer wavelength. While animal biofluorescence is purely an optical curiosity in nature and not evidence for human recovery effects, it highlights how biological structures react to precise bands of the electromagnetic spectrum. In human muscle tissue, absorbing red and near-infrared light directly supports cellular energy output without generating harsh surface heat.
Combining these two pieces of home recovery equipment creates a two-stage vascular and cellular response that neither tool achieves alone. As we outlined in our foundational breakdown of cold water immersion and photobiomodulation, the cold bath clears the congested roadway while the light panel delivers fuel to the repairing tissue. You flush the soreness out first, then feed the recovering muscle fibres as fresh blood rushes back in.
Getting the Sequence Right Between Cold Water and Light
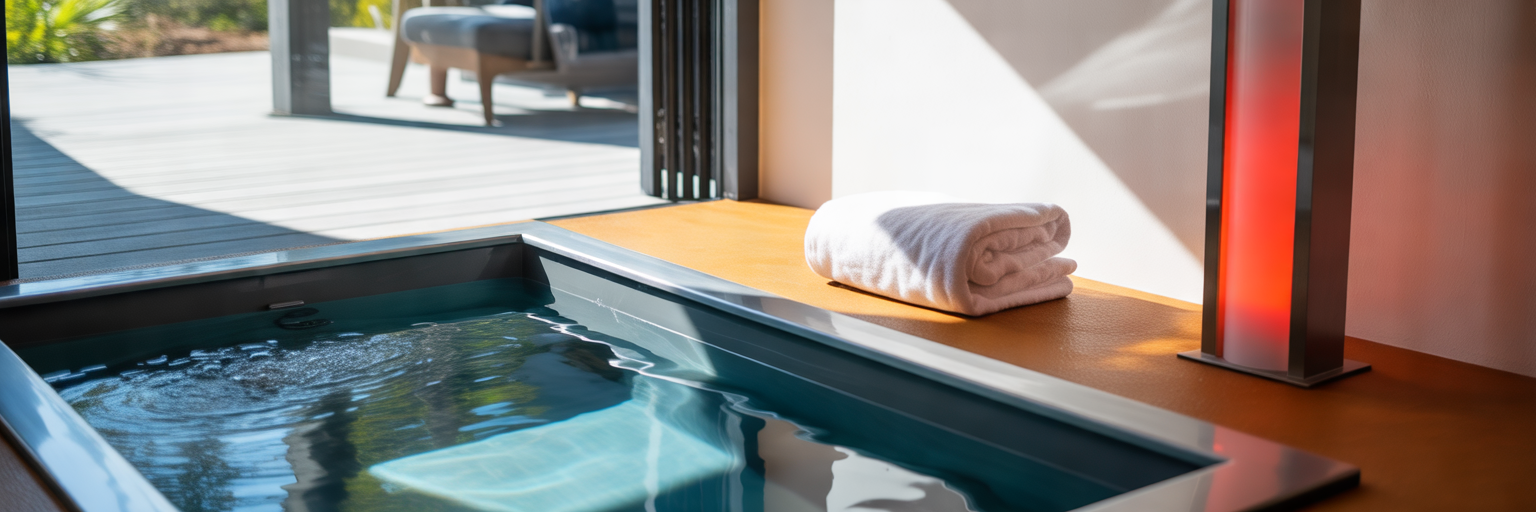
Because these two systems push your blood vessels in opposite directions, the order in which you use them determines how much benefit you actually get. Plunging before you turn on your light panel is the superior sequence for general athletic recovery. If you use red light first and immediately submerge yourself in icy water, the sudden cold shock shuts down the exact microcirculation and nitric oxide release that the light wavelengths just worked to stimulate. Starting in the tub allows the thermal constriction to run its course first, setting the stage for a productive rewarming phase.
The Transition Window After Cold Immersion
How you manage the minutes immediately after climbing out of the water matters just as much as the plunge itself. If you towel off and stand directly in front of a light panel while your skin is still blanched, numb, and shivering, your surface capillaries remain tightly constricted. In that pale, bloodless state, photon absorption and vascular transport are severely compromised because the superficial tissue is still defending itself against cold loss.
Giving your body a ten to fifteen minute transition window at room temperature changes the physiological response completely. During this brief pause, your core stops defending against thermal shock, skin temperatures stabilize, and a wave of reactive vasodilation opens your peripheral blood vessels. Achieving this predictable vascular rebound requires reliable water temperatures during the bath itself, which is why dedicated cooling systems like Plunge Chill help maintain an exact thermal stimulus rather than guessing with melting ice. Once your skin regains its normal colour and warmth, standing in front of your panel for ten to twenty minutes allows the wavelengths to reach richly perfused tissue, a process detailed further in our guide to using light panels at home.
Adjusting the Protocol for Strength Versus Endurance
While the plunge-then-light sequence works exceptionally well after cardiovascular effort, there is one major exception you must respect if you lift weights to build muscle or preserve bone density. Heavy resistance training creates microscopic mechanical tension that triggers a localized inflammatory cascade, signalling satellite cells to repair and thicken muscle fibres. According to a peer-reviewed analysis on evidence-based cold therapies for post-exercise recovery published in Physiologia, submerging muscles in cold water within four hours of strength training blunts this anabolic signalling pathway and dampens long-term hypertrophy.
When your primary goal for the day is strength or muscle growth, skip the cold tub entirely and use your light panel on its own. Research into red light therapy Australia buyers often overlook shows that photobiomodulation supports cellular recovery after heavy lifting without shutting down the helpful inflammatory signals required for strength adaptation. Conversely, after long road runs, cycling sessions, or high-intensity interval work, pairing both systems back-to-back shines. Findings from a collegiate endurance athlete recovery thesis hosted on the University of Oklahoma SHAREOK repository indicate that combining cold immersion and photobiomodulation helps restore heart rate variability and calms perceived soreness during heavy cardiovascular blocks. For anyone researching cold plunge Australia protocols, matching the sequence to the training session ensures your equipment works with your physiology rather than against it.
| Primary Training Session | Recommended Protocol Sequence | Wait Window After Exercise | Primary Physiological Objective |
|---|---|---|---|
| Heavy Resistance and Hypertrophy | Red light therapy panel only; omit cold immersion | Immediate or within 60 minutes | Preserve acute inflammatory muscle growth signals while supporting cellular ATP |
| Endurance Running or Cycling | Cold plunge first, 10 to 15 minute rest, then red light panel | 30 to 60 minutes post-session | Flush metabolic byproducts, restore heart rate variability, and calm soreness |
| Active Mobility and Rest Days | Cold plunge followed after 15 minutes by full-body red light | Any time of day, ideally morning | Stimulate autonomic nervous system balance and microcirculation without training fatigue |
| Evening Wind-Down Routine | Red light panel only or gentle cool rinse | 2 to 3 hours before sleep | Avoid late-evening norepinephrine spikes caused by intense cold shock |
Practical Dosing Temperature and Distance Guidelines at Home
Owning high-output recovery gear sits with a temptation to push every session to the extreme, yet biological adaptation follows a bell curve. More cold and more light do not equal faster recovery. Aiming for two to four combined sessions per week delivers a reliable hormetic stimulus while giving your central nervous system enough breathing room to adapt. Running intense thermal contrast protocols every single day can flatten your autonomic response and leave you feeling weirdly wired and fatigued.
When setting up your cold water immersion, you do not need freezing temperatures to trigger a complete vascular and neurochemical shift. Submerging up to your neck for three to five minutes at ten to fifteen degrees Celsius is more than enough to spike norepinephrine and constrict peripheral vessels without risking superficial nerve irritation or thirty minutes of violent after-drop shivering. If you are managing localized joint cooling or keeping portable setups cold between sessions without running an industrial compressor all day, practical thermal accessories like Ice Blankets offer a straightforward way to regulate cold exposure at home.
Once your fifteen-minute rewarming window ends and you step in front of your LED array, physical distance dictates how much light energy actually enters your muscles. Positioning your body fifteen to thirty centimetres away from the panel face strikes the ideal balance between deep photon penetration and even coverage across large muscle groups like your quadriceps, glutes, and upper back. Standing right against the lenses creates hot spots of excessive irradiance while missing surrounding tissue, whereas standing a metre away causes light intensity to drop off sharply. When evaluating the best red light therapy panel Australia suppliers offer, checking lens beam angles and verified irradiance at fifteen centimetres tells you far more about real-world dosing than raw wattage numbers, a topic we break down in our guide on evaluating panel specifications and light output.
Evaluating Space Power and Running Costs for Dual Setups
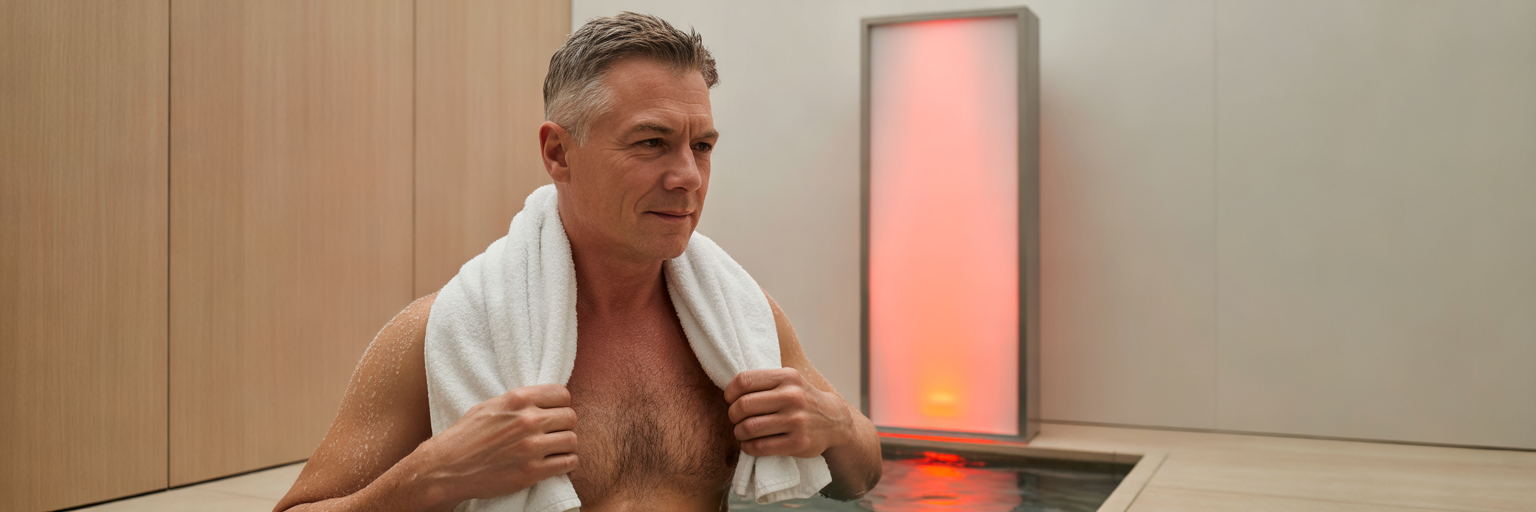
Bringing both water immersion and high-powered electronics into the same home environment requires practical planning around layout, electricity, and moisture control. A brochure photo might show a sleek timber light panel sitting right next to a brimming ice bath, but replicating that arrangement in a real garage or covered patio creates immediate safety and durability headaches.
Managing Australian Climate Loads and Wet-to-Dry Safety
Water and mains-powered electronics demand strict physical separation. Every time you climb out of a plunge tub, you carry hundreds of millilitres of dripping water across the floor. High-output LED panels operate on 240V Australian mains power and rely on internal cooling fans that pull ambient air across exposed circuitry. Your light panel must be mounted on a wall or wheeled stand in a dedicated dry zone at least two metres away from your tub, separated by heavy absorbent matting and connected to an RCD-protected circuit.
Climate realities across Australia also play a huge role in ongoing ownership costs. If you place a tub on a covered patio or inside a warm brick garage in Brisbane, Sydney, or Perth during January, ambient temperatures above thirty degrees Celsius force your chiller compressor to run almost continuously. Searching for the best cold plunge Australia has for warm climates means prioritizing thick polyurethane foam insulation and UV-stable locking lids, specifications you can compare across our cold plunge tubs directory. By contrast, full-body LED panels draw electricity only during your twenty-minute session, costing mere cents per use, provided you verify that the unit carries genuine Australian electrical safety compliance rather than unverified overseas wattage claims.
Tracking Objective Recovery Baselines Beyond Subjective Feel
Spending several thousand dollars on a dual recovery station naturally raises the question of whether the routine is genuinely changing your physiology or simply delivering a brisk morning wake-up. While waking up with less lower-back stiffness is a great daily indicator, subjective energy levels fluctuate wildly with work stress and caffeine intake. Tracking objective biometrics gives you a transparent picture of how your body responds over an eight-to-twelve-week block.
Start by logging your overnight resting heart rate and heart rate variability using a consistent wearable ring or strap, watching for how quickly your autonomic nervous system rebounds after endurance sessions. To look deeper than wrist sensors allow, establishing baseline blood panels for systemic inflammation such as high-sensitivity C-reactive protein, fasting insulin, and lipid markers provides concrete evidence of internal recovery. Services like Mito Health make it straightforward for Australians to track these internal blood biomarkers over time, letting you see whether your cold and light protocol is moving the needle on cellular health and systemic inflammation.
| Ownership Factor | Chilled Cold Plunge System | Full-Body Red Light Therapy Panel | Combined Setup Consideration |
|---|---|---|---|
| Power Supply and Draw | Standard 10A 240V outlet; 500W to 1,200W peak chiller draw | Standard 10A 240V outlet; 300W to 900W actual power draw | Avoid running a high-draw chiller compressor and large dual panels on a single overloaded garage circuit |
| Estimated Australian Running Cost | $1.00 to $2.50 AUD per day depending on ambient summer heat and insulation | $0.10 to $0.30 AUD per 20-minute session at average residential tariffs | Placing the tub in a shaded, ventilated area cuts chiller electricity usage substantially during summer |
| Spatial and Moisture Zone | Outdoor covered deck, garage, or wet room with floor drainage | Dry indoor room or enclosed studio with zero water splash exposure | Maintain at least 2 metres of dry transitional flooring with heavy absorbent matting between tub and panel |
| Routine Maintenance | Weekly water testing, micron filter changes, and ozone or sanitation care | Occasional lens dusting and checking cooling fan vents for dust buildup | Budget ongoing annual costs for plunge filters and water care alongside zero consumables for LED panels |
Choosing the Right Equipment Combination for Your Routine
Building a dual recovery setup rarely requires buying two flagship commercial machines on the same day. Most Australian homeowners planning a budget between $1,500 and $5,000 get far better value by solving their biggest daily friction point first. If you love the mental clarity and rapid soreness relief of cold water after running, but you know you will never bother driving to the servo for bags of ice three times a week, allocate the bulk of your budget toward a well-insulated tub and reliable chiller first.
On the other hand, if your primary focus is strength training, joint mobility in your fifties and sixties, or recovering in a compact indoor spare room without floor drainage, putting your initial capital into a high-irradiance, full-body light panel makes much more sense. A wall-mounted or stand-mounted panel requires zero water maintenance, takes up minimal floor footprint, and can be used after every single workout without blunting muscle growth. You can always pair that panel with an entry-level portable ice pod or localized cooling gear later on.
Before committing your money to any brand, use a structured recovery equipment buyer's guide approach and compare at least three competing models side by side. When evaluating units across our red light therapy panels category, look past inflated total LEDwattage numbers and ask for independent third-party irradiance readings alongside local Australian warranty terms. Apply that same critical lens to cold tubs by checking chiller cooling ratings at thirty-five-degree ambient temperatures and confirming where replacement parts are stocked locally. If you are ready to map out which specific systems match your space, training goals, and budget, explore the independent specifications and comparisons in our start-here guide to build a home setup that genuinely fits the way you live and recover.